
Looking for a portable outdoor heater that looks aesthetically pleasing and provides both heat and light? Look no further than the innovative Bromic Eclipse Portable outdoor heater. Whether you’re looking to add warmth and comfort to a residence or business, this Eclipse Smart-Heat™ Portable installation guide will walk you step-by-step through the installation seamlessly.
See how easy the installation is in this video by Brad Leavitt from AFT Construction.
What is Needed to Install the Eclipse Portable Outdoor Heater?
In order to properly install the Eclipse Portable outdoor heater requires referring to the Installation Manual located on Bromic’s website or following the step-by-step guide below. As noted in the manual, installation must be carried out by a licensed and authorized technician in accordance with local electric codes. Additionally, the heaters must be installed according to the minimum installation clearances, which can be found here.
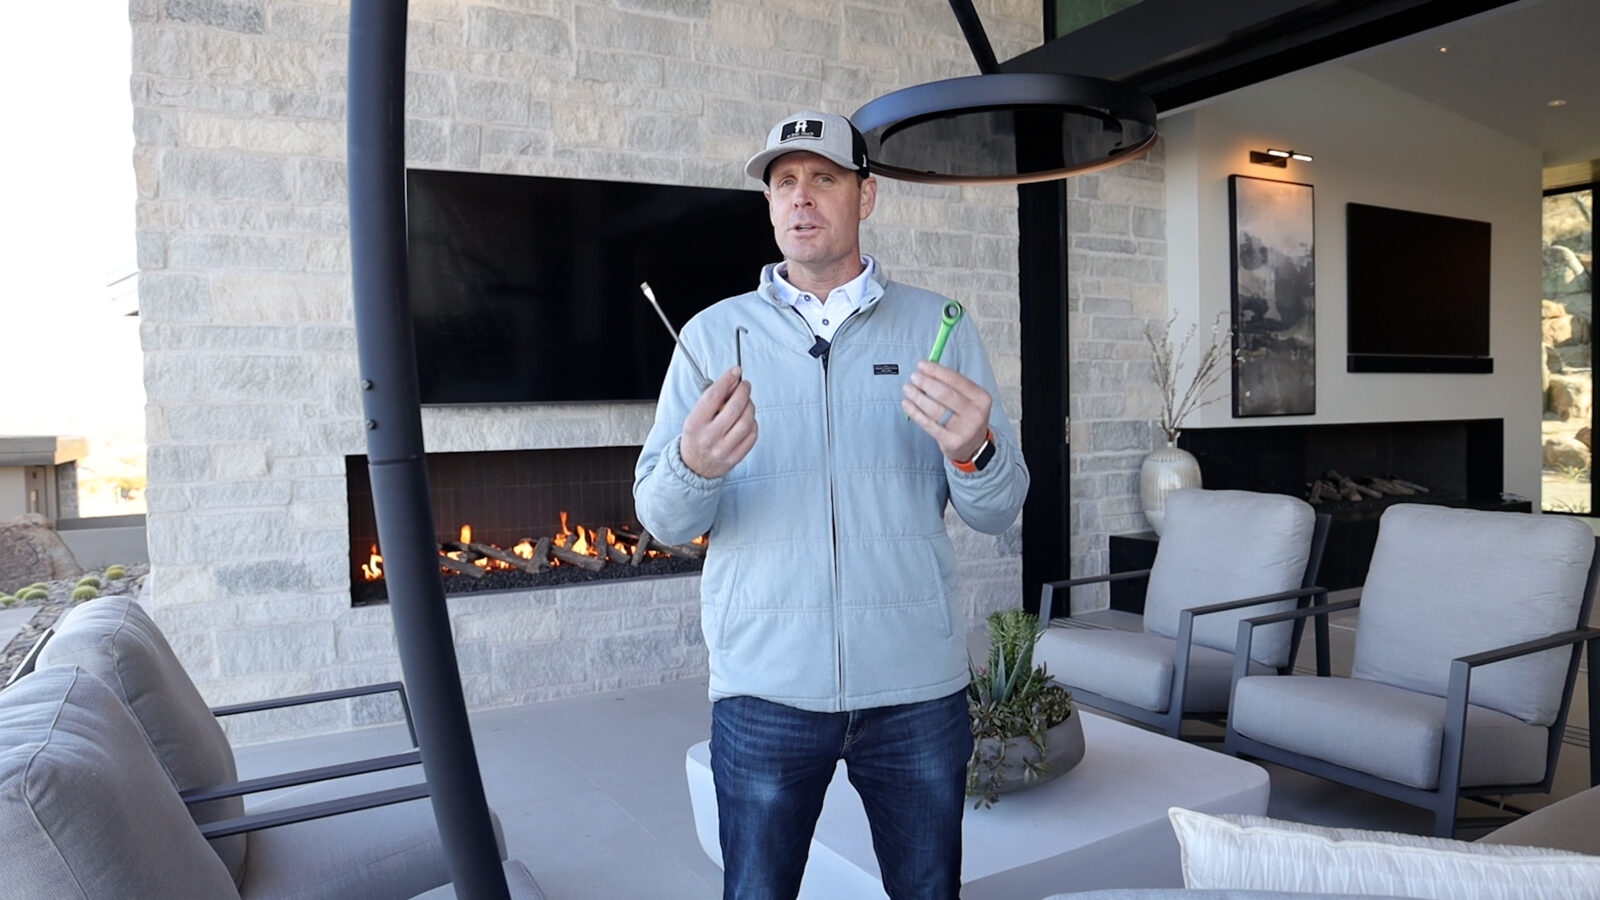
To prepare for the installation, gather the required tools and parts that are not included, mentioned below:
- Bolts for fastening to Ground surface
- Phillips Head Screw Driver
- Flat Head Screw Driver
- Small Step Ladder
- 2 strong people to help with lifting & assembly
- Spirit Level
The Step-by-Step Guide to Installing the Eclipse Portable Outdoor Heater
Once you’ve gathered the required tools and ensured proper clearances are met, begin working through the steps below.
Step 1: Start by using a Phillips Head screwdriver to remove the 10 screws that hold the Base crate together.
Step 2: Once the screws are removed, carefully take off the Base Cover and set it aside on a non-abrasive surface.
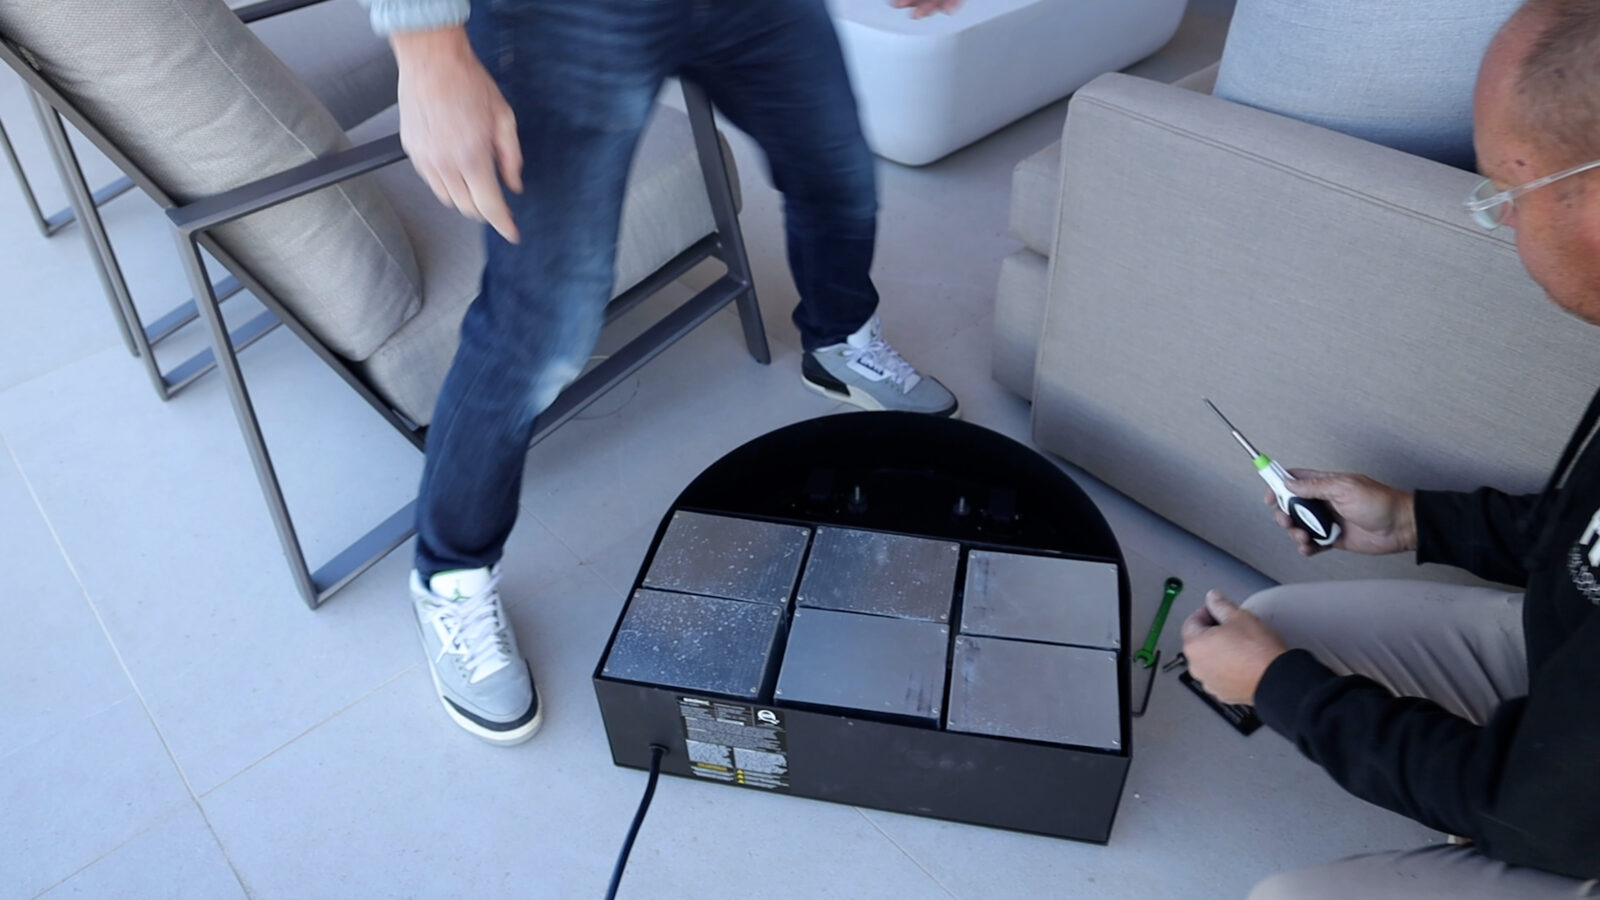
Step 3: Locate and remove the 10 22 lbs Base weights from the rear compartment of the Heater Base and place them nearby in your desired heater location.
Step 4: Remove the 2 Crate Fixing Screws from within the Base.
Step 5: Lift the Base from the pallet and place it on a flat surface at your desired location.
Step 6: If your area is prone to high winds or gusts, secure the heater base by using appropriate bolts through the 5 holes in the Heater Base.
Step 7: Place the 10 Base Weights back into the rear compartment of the Base.
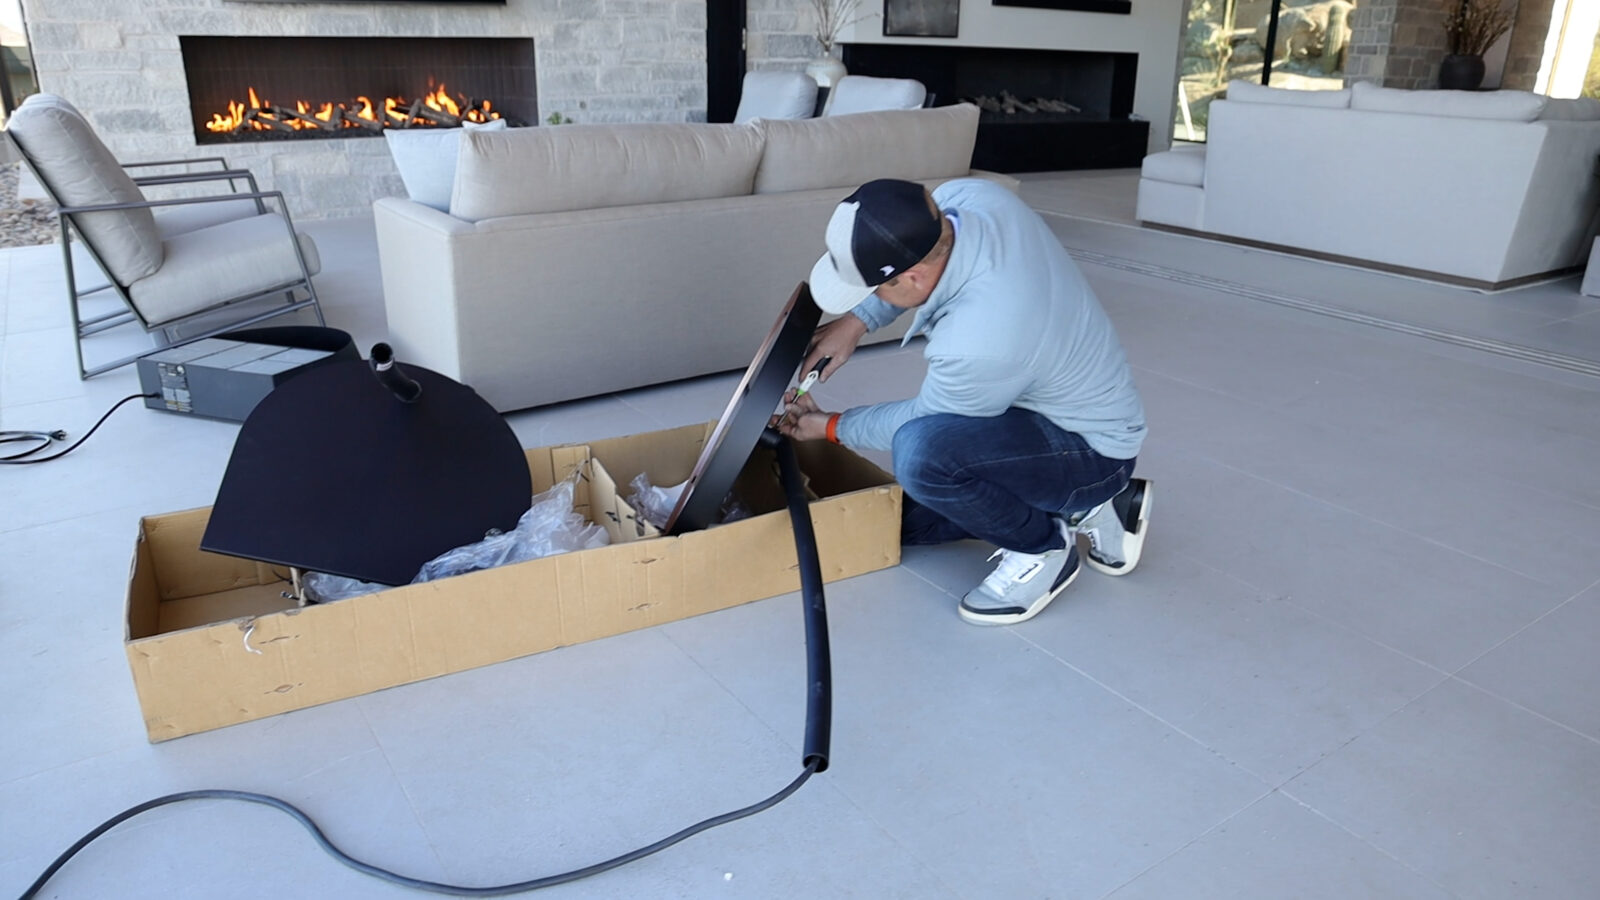
Step 8: Unwrap the Lower Arm section from its packaging.
Step 9: Fit the Lower Arm section into the base, ensuring the front two mounting holes align with the base dampeners.
Step 10: Use 2 M8 Washers and 2 M8 Nuts to fasten the front slots of the Lower Arm section to the dampeners.
Step 11: Secure the rear slots of the Lower Arm section to the Base using 2 M8 Washers and 2 M8 bolts (Length: 35mm).
Step 12: Confirm that the Large O-ring (35mm ID) is placed on the connector section of the Lower Arm.
Step 13: Unwrap the Base Cover and check the seal. Slide it over the Lower Arm section, allowing it to rest on top of the Base.
Step 14: Unwrap the Top Arm section and the Heater Head from their packaging.
Step 15: Thread the cable through the Top Arm section and connect it to the Heater Head using the provided screws, ensuring proper alignment.
Step 16: Use 4 Dome Head Screws to lock the angle of the Heater Head relative to the Top Arm section.
Step 17: Unwrap the Middle Arm section and confirm the placement of the Large O-ring.
Step 18: Feed the Heater Head cable through the Middle Arm and fasten it to the Top Arm section using 2 Slotted Head Screws.
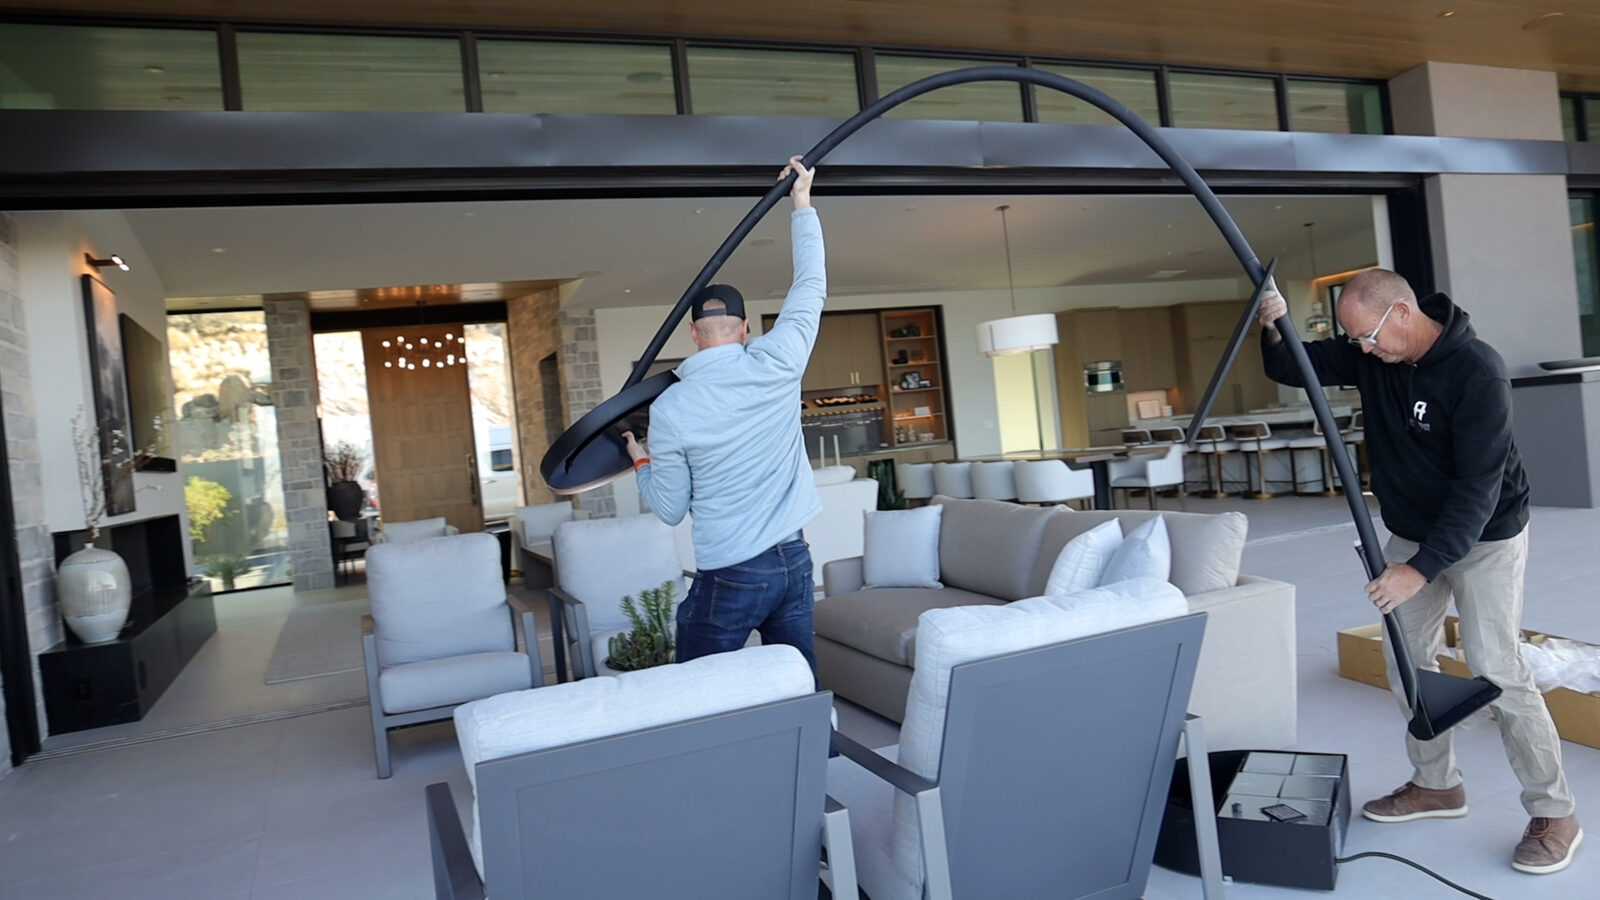
Step 19: With assistance of another person, guide the cable through the Lower Arm and pull the slack into the base.
Step 20: Attach the Middle Arm to the Lower Arm using 2 Slotted Head Screws.
Step 21: Use a spirit level and adjust the angle of the heater head by modifying the 4 Dome Head screws on the head.
Step 22: Inside the Base, open the Small Connector Box and connect the male and female connectors of the Heater Head cable.
Step 23: Secure the cable with the rubber grommet and fasten the Small Connector Box lid with 4 Oval Head screws.
Step 24: Rotate and fit the Base Cover securely using the Dome Head Screw.
Step 25: Ensure all packaging materials are removed before turning on the appliance.

Turning the Heater On
Now that you’ve completed these steps, your Bromic Eclipse Portable Heater is ready to provide warmth and comfort to your space!
Turn the heater on by plugging-in the heater with the NEMA 6-20P plug as shown on the image below into a 220-240V, 20A Outlet, and switch the power outlet on. You should hear a soft *beep* from within the Base, and the light will flash for 1 second, but the heater will remain off until setting is chosen on remote. Using the provided Bromic Eclipse Dimmer Controller wireless remote, select the desired heat and light settings and enjoy the enchanting ambiance. If you have any questions or need further assistance, refer to the user manual or contact Bromic’s customer support.
Ready to Add the Eclipse Portable Heater to Your Project?
Bromic’s Complimentary Design Service allows you to work with a heating expert to prepare a personalized heat plan for your outdoor space. After reviewing photos, plans, and renderings of your space, they will recommend the best and most efficient solution for your specific needs. This level of customization ensures that you get the most out of your outdoor heating system and that it meets your exact requirements.